WordPress redirects ensure your users (and Google) can find your content when you:
- Change the URL
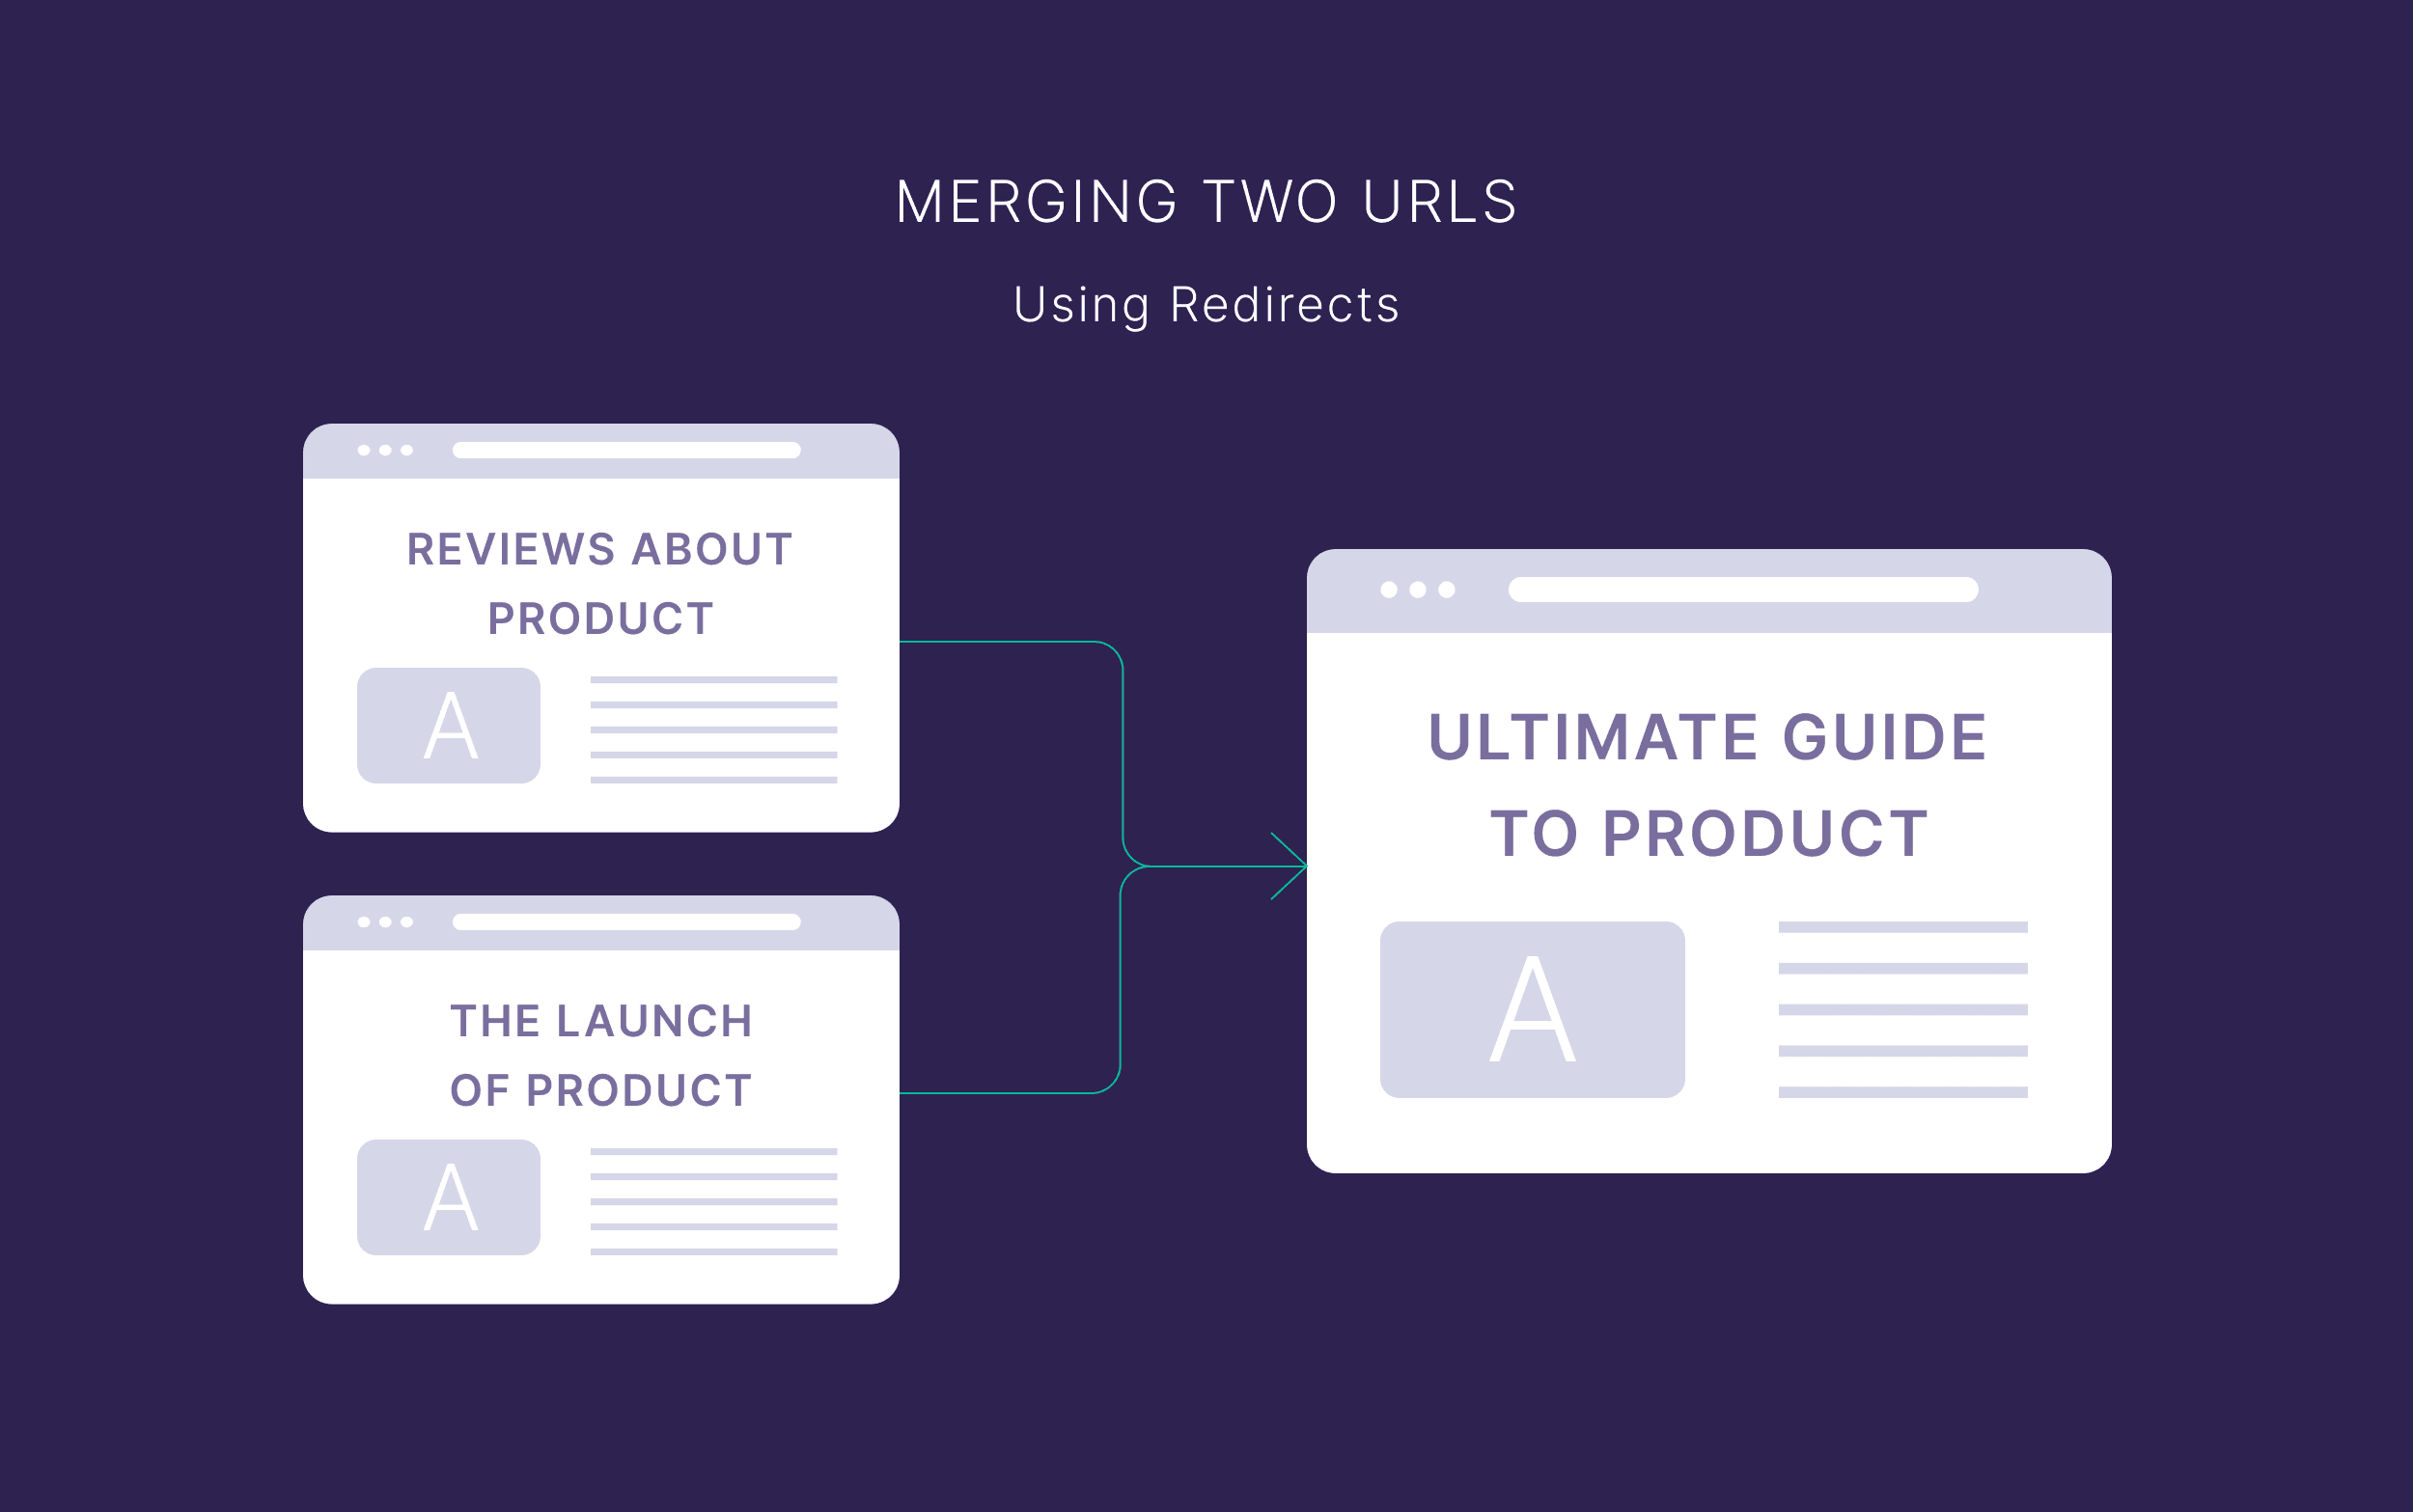
- Combine two pieces of content
- Move your entire site to a new domain
Using redirects avoids creating broken links (bad for user experience), or losing the authority of your backlinks (bad for your SEO).
In this guide, I’ll show you how to redirect your WordPress URLs with and without plugins.
When Should You Use WordPress Redirects?
You typically set up WordPress redirects any time you want visitors (and search engines) to end up at a different URL than the one they originally tried to access.
That might be because you changed an old link, or because you’re testing a new landing page.
Here’s a quick breakdown of the most common scenarios:
| Use Case | Example | Why It Matters |
|---|---|---|
| Changing page URLs | You updated your post slug from /old-page to /new-page | A redirect ensures visitors who save, bookmark, or click the old link don’t land on a 404 error |
| Deleting or merging content | You remove outdated pages or combine two posts into one | Redirects in these cases ensure you don’t lose valuable backlinks |
| Rebranding or domain changes | You switch from olddomain.com to newdomain.com | A sitewide redirect preserves your site’s SEO and minimizes traffic lost during the migration |
| Temporary promotions | You create a holiday sale page that’s active for one week | A temporary (302) redirect lets you direct traffic to the special offer, then you can revert back to the original URL when it’s over |
Types of WordPress Redirects
You’ll mostly rely on two key types of redirects: 301 and 302. (Even then, 301 is the type you’ll likely use most often.)
While there are others (like meta refresh), they don’t come up nearly as often in day-to-day site management (and they’re typically not best practice either). So I won’t talk about them here.
There are also subtle variations of these standard redirects (like 307 and 308 redirects). But these have very specific use cases that most site owners don’t need to worry about.
(If you do want to learn more about these, check out this extensive redirects guide.)
Here’s a summary of what you actually need to know:
301 Permanent Redirect
This is the go-to redirect for any page move that’s meant to last forever. You use it when you’ve changed your URL structure, merged content, or changed your domain.

Search engines treat this as a permanent change and usually transfer most of the old page’s authority to the new page.
302 Temporary Redirect
You use 302 redirects when you plan to send visitors to a new page for a limited time.
This could be when you’re running a seasonal promotion or an A/B test to see which version of your page performs best.

A 302 redirect tells search engines that the old URL is coming back eventually, so they shouldn’t transfer the SEO value to the new page just yet.
What to Do Before You Create WordPress Redirects
Redirecting pages, no matter why or how you do it, always comes with an inherent risk.
It’s easy to make mistakes, like creating redirect chains:

Or redirect loops:

So it’s best to do some planning before you get started.
Understand What Kind of WordPress Site You Own
There are two flavors of WordPress:
- WordPress.com: These sites are built on and hosted by WordPress
- WordPress.org: These sites run the WordPress software, but you host them elsewhere
Most sites you’ll see talking about WordPress redirects, and everything I’ll discuss below, only really applies to owners of sites running via WordPress.org.
Sites running on WordPress.com typically have more limited customization options, and this applies to redirecting URLs.
For example, users on WordPress’s cheapest plan can’t install plugins, so they won’t be able to redirect URLs with this method.

This means you’ll need to use WordPress’s built-in redirect tool. You can learn more about the different use cases in this support article.
If you run a WordPress.org site (i.e., you pay for separate hosting), you can use either of the methods below.
Create a Backup
It’s always a good idea to back up your site before making any significant changes—redirects included.
Most good web hosts offer an option for this, but you’ll also find external solutions and even WordPress plugins to do it for you.

Create a URL Map
Another good idea if you’re redirecting a lot of URLs or moving to a new domain is to map all of your current URLs to their new versions.
You can do this using tools like Screaming Frog to get a comprehensive list of all your site’s pages. Or, if your site isn’t that big, just create a list manually (with the help of your sitemap).

This gives you a reference for setting up all the redirects. And you can tick them all off as you put them in place and verify that they work.
Consider Whether You Need a Redirect
Finally, consider whether you even need a redirect at all. I’ve covered a few common situations above, but sometimes you might be better off:
- Updating the content and keeping the current URL
- Deleting the page
- Leaving it as is
For example, you might have outdated content or a page that’s no longer relevant, but no relevant page to redirect it to.
But you don’t want to lose the traffic or backlinks that post has attracted over time. In this case, it’s often just best to leave it as is.
Here’s a flowchart to help you decide what to do:

But if you do need a redirect, here’s how to implement them.
Note: It should go without saying that you’ll need to own the domain you’re redirecting. Otherwise anyone could redirect any domain to their own website.
How to Redirect WordPress URLs with a Plugin
Using a plugin is by far the easiest way to handle redirects in WordPress. You don’t have to touch any code, and they’re usually pretty easy to set up.
Here’s an overview of the most popular WordPress plugins for creating redirects:
| Plugin | Key Benefit | Price |
|---|---|---|
| Redirection | Handles 301 redirects with a simple interface | Free |
| 301 Redirects | Quick setup for basic redirects | Free (with optional paid plans) |
| Rank Math | Offers advanced SEO tools plus auto-redirects when you change URL slugs | Free (Premium available) |
| Yoast | All-in-one SEO plugin | Paid (annual license) |
| AIO SEO | A range of SEO features and simple redirects | Paid (annual plans) |
Note: I won’t be going through all the steps for setting each of these up. In most cases, it’s something like this:
- Install plugin
- Navigate to the redirects/redirections menu within that plugin’s settings
- Set up your redirects
I’ll show the main interface for each one below, but it’s pretty self-explanatory. The main things to consider are any other plugin features you might need and whether you can do it for free.
Redirection
Types of redirects: 301/302/303/304/307/308
Redirection is the most popular free plugin for simple 301 redirects.

It does exactly what the name implies and is a plugin purely for creating and managing redirects.
You can add new redirects very easily, and the plugin automatically tracks any 404 errors on your site.

Plus, if you update the URL of a page, you can set it to automatically create a redirect for it.
That means you don’t need to worry about broken links appearing that could cost you traffic and rankings.
You can also choose various HTTP status codes for pages. This is handy if you’re deleting content and want the URL to send a 410 gone status code, for example.

The Redirection plugin can also handle a few useful sitewide redirects:
- HTTP to HTTPS
- Removing WWW
- Adding WWW

As I’ll show you later, you can set these kinds of redirects up through .htaccess. But if you want a simple, no-code way to do it, this is SUPER useful.
If you’re looking for something lightweight and focused purely on redirects, this plugin is a great choice.
301 Redirects
Types of redirects: 301/302/307
301 Redirects is another option if you just want basic link redirection without any extra features.

The free version handles most common redirect scenarios through a simple interface.
But there’s a premium version available if you want other features like:
- Redirect management and matching rules
- Detailed 404 monitoring
- Link scanning
Rank Math
Types of redirects: 301/302/307
Rank Math is an all-in-one SEO plugin that also lets you create redirects—without needing a premium subscription.

Note that you can set up three types of redirects and choose 410 or 451 status codes.
Its standout feature (for this discussion) is the auto-redirect function: when you change a URL slug, the plugin sets up a redirect for you automatically.
This saves you from having to remember to do it yourself.

It also includes an array of other SEO tools—like keyword optimization and schema settings.
So, if you need a plugin that can handle other aspects of your site’s SEO, Rank Math is a good pick.
Yoast
Types of redirects: 301/302/307/410/451
Yoast is one of the most popular SEO plugins for WordPress.

The downside is that you need the premium version to access the built-in redirect manager. If you’re already using Yoast Premium for other features though, it’s a no-brainer.
You’ll get a user-friendly interface for setting up 301 or 302 redirects (and 410/451 status codes), and it’ll automatically set up redirects when you change URLs.
AIO SEO
Types of redirects: 301/302/303/304/307/308
AIO SEO (All in One SEO) is another heavyweight in the SEO world. It offers redirect features, but you need a paid subscription to unlock them.

In return, you get a clean, well-structured dashboard where you can manage redirects alongside other SEO tasks.
Like the others, the redirect manager is straightforward—just enter the old URL, the new URL, and save.
If you’re already using AIO SEO for keyword optimization or sitemap management, upgrading for the redirect module could make sense.
Note: You probably won’t want to use any combination of Rank Math, Yoast, and AIO SEO. They all do many of the same things, and conflicts between them can cause issues with your site.
How to Set Up a Redirect in WordPress via .htaccess
If you’re comfortable taking a more hands-on approach, you can skip plugins entirely and create redirects by editing your site’s .htaccess file.
(Note that this only applies to WordPress sites running on Apache, not Nginx.)
This file tells your server how to handle certain requests, and it’s often used for things like permalinks and redirect rules.
It can be faster than installing a plugin, and if you already have lots of plugins on your site, it limits how much extra “bloat” you add to it.
In other words: your site might run faster.
The catch is that one wrong line of code can bring your whole site down. So I strongly recommend you consult your developer if possible. Or, at the very least, take a lot of care when doing it yourself.
How to Access .htaccess
The usual method to edit your .htaccess file involves an FTP client. This is a “file transfer protocol” program that lets you access your server’s files from your computer.
There are lots of options, like Cyberduck, FileZilla, and WinSCP.

Check out this guide to .htaccess files for a walkthrough of how to do this.
In many cases, you can edit your .htaccess file right inside your hosting control panel (like cPanel or a similar dashboard).
Look for a “File Manager” or something similar:

Then, look in your site’s root folder (often called public_html) for your .htaccess file.
It might be hidden by default—there’s usually an option in your settings to change that.

You’ll see lines of code that might look a bit intimidating, but don’t panic.
You don’t need to edit any of them. We’ll just be adding some additional lines of code to our .htaccess file.
Before You Start
For some redirects, you’ll need to add a few lines of code like this:
Options +FollowSymLinks
RewriteEngine On
You don’t need to worry too much about what this does, but essentially it lets you add certain rules that’ll execute specific types of redirects. (Some hosts might enable the first line by default, but it’s fine to add it here anyway.)
You don’t need these for a basic single redirect, but you will for the more complex ones.
You also only need to add it once in your .htaccess file (provided you don’t also have “RewriteEngine Off” somewhere else in the file). But I’ve included it in each of the instances below that require it.
Finally, it’s important to note that these .htaccess rules don’t “create” any new pages.
You need to ensure the pages you’re redirecting to are live when you add the rule. Otherwise the redirect will lead to an error page.
With that in mind, here are the most common types of WordPress redirects you can add to your .htaccess file. In each case, add them at the start of your .htaccess file.
Free resource: To make things even easier, download our free .htaccess WordPress redirects cheat sheet.
Redirecting a Single Page
To redirect a single page using your .htaccess file, add this line of code, replacing the /old-url and /new-url parts with your own URLs:
Redirect 301 /old-url https://yourdomain.com/new-url
Note: The first part (/old-url) should be the relative form of the URL. But the second part should be the full URL, including the protocol (https://) and domain name.
Redirecting a Single Folder
When you want to redirect a folder (e.g., moving a /blog category over to your /news category), use this code:
Options +FollowSymLinks
RewriteEngine On
RewriteRule ^blog/(.*)$ /news/$1 [L,R=301]
Again, you’d replace the blog and news parts with your own folder names.
But what do all the other parts mean?
You don’t need to know the specifics, as there are lots of possible combinations. But this particular case does the following:
- ^ means “start looking at the beginning of the URL path”
- blog/ is the folder we’re redirecting from
- (.*) captures everything after blog/ (think of it like copying it to the clipboard)
- $ basically says “that’s the end of what we’re looking for”
- /news/ is the new folder we’re redirecting to
- $1 essentially “pastes” everything we “copied” with (.*) into the new location
- L means stop processing rules for this specific request once it matches this rule
- R=301 means it’s a 301 redirect (as opposed to 302, for example)
So, it would redirect a URL like:
To:
Redirecting to a New Domain
Redirecting to a new domain is where things can get tricky. Having done this myself, I strongly recommend you speak to your developer first.
But if you plan to do it yourself, here’s one example of a rule you can add to your .htaccess file (obviously subbing in your specific old and new domains, with or without www as required):
Options +FollowSymLinks
RewriteEngine On
RewriteCond %{HTTP_HOST} ^(www.)?olddomain.com [NC]
RewriteRule ^(.*)$ https://newdomain.com/$1 [L,R=301]
As with redirecting folders, there are a lot of symbols in there. I won’t go over them all individually, but here are a few important parts:
- RewriteCond %{HTTP_HOST} essentially means “check what domain the user is trying to access”
- ^(www.)? matches either www. or nothing at the start of the domain—this ensures it catches both www.olddomain.com and olddomain.com
- [NC] means “not case sensitive,” so OLDDOMAIN.com would also match
- ^(.*)$ captures the entire URL path after the domain (like /about or /contact)
So this code would redirect:
- https://olddomain.com/about > https://newdomain.com/about
- https://www.olddomain.com/blog > https://newdomain.com/blog
- https://olddomain.com/product/item > https://newdomain.com/product/item
This maintains the same structure for each URL but on the new domain.
You can tweak some of the symbols to catch or ignore specific parts of the URL. But again, it’s probably best to seek help from your developer if you need a more precise solution.
Remember: This .htaccess rule doesn’t create any pages on the new site.
If you try to redirect “olddomain.com/example-page” but there’s no “newdomain.com/example-page” or its URL is slightly different (e.g., newdomain.com/example-page1), the user will get a 404 error.
That’s why you should create a redirect map before starting a site move. For more on this, see our website migration checklist.
Redirecting HTTP to HTTPS
You can also redirect your website from HTTP (unsecure) to HTTPS (secure) via .htaccess. (You’ll, of course, need a valid SSL certificate.)
However:
You might not need to. There’s a good chance your web host offers a method to do this for you. Or you might already have a plugin that does it.

In either case, you shouldn’t then add a separate .htaccess rule to redirect to HTTPS. Doing so can actually lead to issues.
But if you do want to add it, here’s the code:
Options +FollowSymLinks
RewriteEngine On
RewriteCond %{HTTPS} off
RewriteRule ^ https://%{HTTP_HOST}%{REQUEST_URI} [L,R=301]
You can copy and paste this rule directly into your .htaccess file without subbing anything in.
Redirecting WWW to Non-WWW
As with redirecting to HTTPS, you can usually redirect from the www. version of your website without touching your .htaccess file.
One method is through your WordPress dashboard’s “General” settings tab. Just enter the URL you want to use for your domain name in the “WordPress Address” and “Site Address Boxes”:

But if you want to do this via .htaccess, here’s the code to add (you can copy and paste it in without changing anything):
Options +FollowSymLinks
RewriteEngine On
RewriteCond %{HTTP_HOST} ^www.(.+)$ [NC]
RewriteRule ^(.*)$ https://%1/$1 [L,R=301]
Remember: You only need to add one instance of “RewriteEngine On” in your .htaccess file.
Pros and Cons of Using .htaccess for WordPress Redirects
The main advantages of using .htaccess to redirect WordPress URLs include:
- Fewer plugins, less bloat: Every plugin you install can slow down your site. Changes to .htaccess don’t rely on lots of extra code running in the background.
- Extra control: You can set up advanced redirect rules, and you can be very specific about what does and doesn’t redirect.
- Fast execution: Because .htaccess rules run at the server level, your redirects happen quickly.
But there are a few drawbacks:
- Risk of breaking your site: One small typo can cause major errors. Double-check everything, and always keep a backup.
- No built-in tracking: Unlike plugin dashboards that log errors and hits, you won’t see which URLs have triggered the redirect unless you check your server logs.
- Potential performance impact: While the actual redirects might be fast, adding lots of .htaccess rules could impact overall performance and page speed (although it won’t be noticeable in most cases).
A big caveat here, though, is that which method is right for you will depend on how many redirects you need to implement and the nature of them.
Need to redirect a couple of pages, and want an easy way to do it as needed?
The likely small performance impact of a single plugin is probably worth it for the flexibility and convenience.
Redirecting one URL?
It’s probably most efficient to add it to your .htaccess file (it’s just one line of code).
Performing a massive site migration with thousands or millions of redirects?
For massive sites, it’s probably not worth taking any risks trying to use a plugin or editing your .htaccess file. This is where you’ll likely want to seek expert assistance.
How to Check Your WordPress Redirects Are Working
Whether you set your redirects up using a plugin or via .htaccess, I recommend testing to make sure they work as soon as you’ve implemented them. This lets you fix errors before they impact your users (or your SEO).
You can do this manually by checking the URLs if you didn’t create that many redirects.
But if you have lots of them, you can use a tool like Semrush’s Site Audit to check for issues across your entire site.
You just set up your audit and once it runs, you’ll head to the “Issues” tab.
Search for “links” to bring up any relevant issues:

Pay particular attention to these errors and warnings:
- # internal links are broken
- # pages returned 4XX status code
- # redirect chains and loops
- # pages with a broken canonical link
- # links couldn’t be crawled (incorrect URL formats)
- # links on HTTPS pages lead to HTTP page
These often occur when you implement lots of redirects and set up some (or all) of them incorrectly.
You can audit your site for free for up to 100 URLs. But for crawling more than that, try a Pro plan for free for 14 days with this link.
The post WordPress Redirects Made Easy: Plugin & Code Methods appeared first on Backlinko.